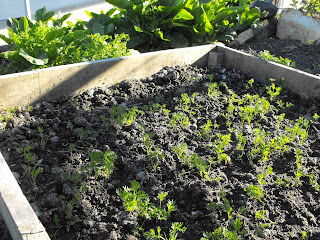
Yeah I know I'm really selling it with the photo.
It's top corner of the section. Former neighbours, many years ago, planted large trees hugging up to the hedge line.
A potentially sad story of overbearing shade, voracious root systems, hedge munted by vigourous growth and consequently an area no longer suitable for growing.
Fortunately life is a whole lot bigger than that (and so is the section) and unfortunately there are real sad stories out there that you wouldn't wish on anyone.
Wherever they are now, I really hope they are enjoying the pleasures of gardening and continuing to bless their world with more trees.
So having identified the perfect place to build a worm farm I moved up the bath, with a little help from the school child home 'sick' for the day: that mysterious tummy bug that seems to come right about 9.30am, after a phone call to school has cleared the day.
I have some rigid plastic grid over the plug hole to keep out rodents; also put a few bricks in the bottom, I think for drainage? I'm following careful instructions from my worm source.
Toilet rolls and cardboard are the base layer.
Notice the enamel pot underneath to catch worm fertiliser and the bath is on a gentle slope to make sure it drains easily.
The final ingredients are dirt, compost, and the first buffet bucket of vegetable scraps, (citrus and onion excluded) to welcome them to their new home.
The compost was full of 'other' worms, the garden variety. I was a wee bit concerned about dropping my immigrants amongst them; I hope things don't turn to fisticuffs in there.
The top layer is wet sacks, then a clever waterproof lid, covered with overlapping plastic tiles that function like scales. The weights stop any wind drift. See photo below.
It seems to be a very manageable level of livestock care, although, I've seen a few dead worm farms and they are a sad sight...but enough of that sort of talk,
Bon vivant!


